
")
3.4. Assignment of Figures to Keys
3.4. Assignment of Figures to Keys
After the creation of the figures they have to be assigned to a key of the PC-keyboard or MIDI-keyboard respectively. This is required as the Live Window as well as the Timeline window requires the figures being assigned to keys. The same applies for the DMX and MIDI window.
The process of creating a show in the Timeline editor requires the figures to be called by pushing the respective keys when recording the show. Afterwards the recorded draft can be edited and rearranged, but the initial process of assigning the figures to the timeline requires the figures to be assigned to keys.
There are several ways of assigning figures to keys:
3.4.1. Manual Assignment
To assign a figure to a key of the PC or the MIDI keyboard it has to be selected: Right-click on its icon in the Figure Table (Fig.15). Then click “Assign Figure”. A message will be displayed until a key was pressed. If this key is already assigned to another figure, a warning will be displayed.
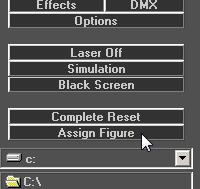
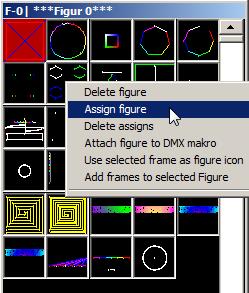
Fig.15: Assignment of keys to figures. Right-click on an icon or click on “Assign Figure” (red arrows). The selected figure has a red square.
3.4.2. Assignment by Drag and Drop to the Live Window
This way of assignment is quite easy, because drag-and-drop can be used. First open the Live Window (Fig.16). It is possible to drag-and-drop the very figures to the key-spaces in the live window, assigning the figure to that key this way.
The assignment of figures to keys is saved automatically to a file named “key.ord” within the same folder as the figures. Changes of the assignments are possible by simple re-assignment. Duplicate assignments are possible (several keys for the same figure, but not the other way round). To call several figures with one key, “Showparts” can be used (more about this in the main manual).
When overwriting a figure with another one in the show folder (the other figure is given the same name within the Windows Explorer), the key assignment will be preserved. The system links key and figure through the figure name.
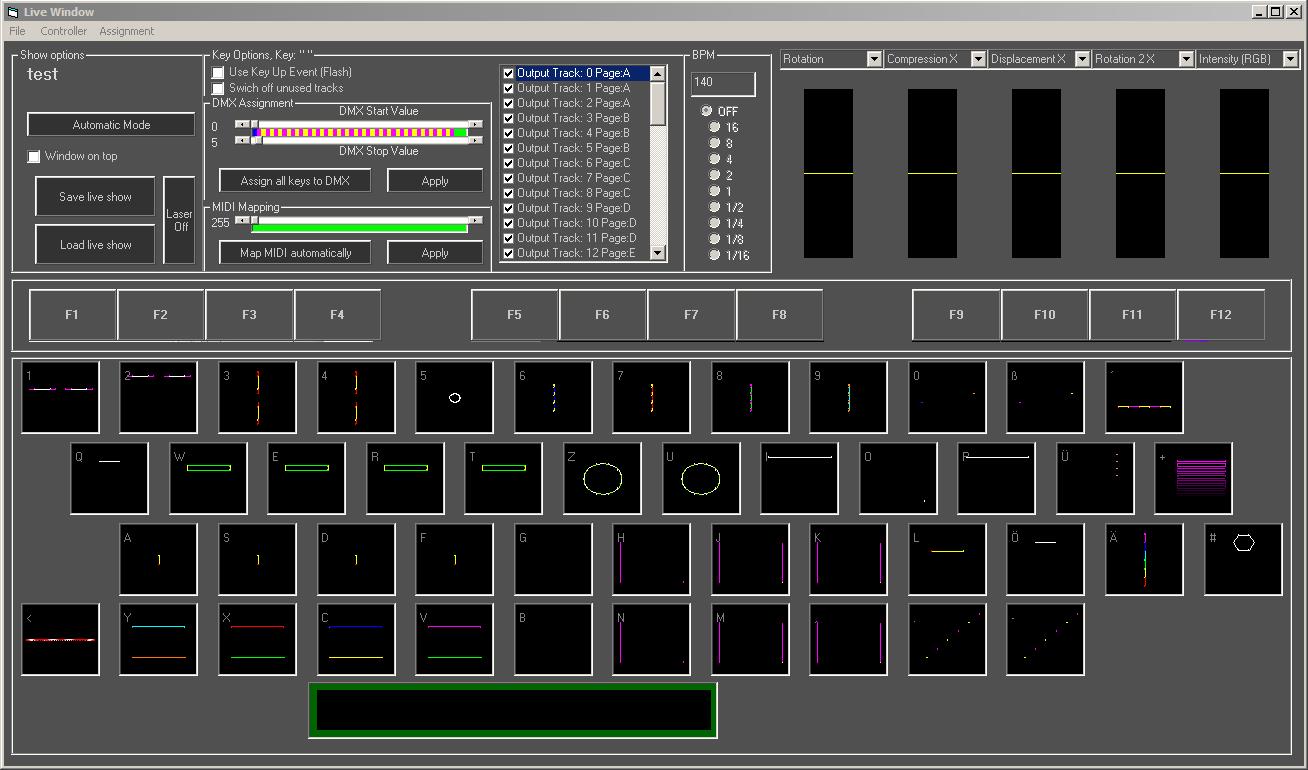
Fig. 16: Key assignment within the Live Window.
It is also possible to do the assignments automatically by using the menu Figure Assignment -> Assign figures automatically in the Figure Editor.
The already made assignments can be viewed or printed by a click on the respective item within the menu Figure Assignment in the Figure Editor.
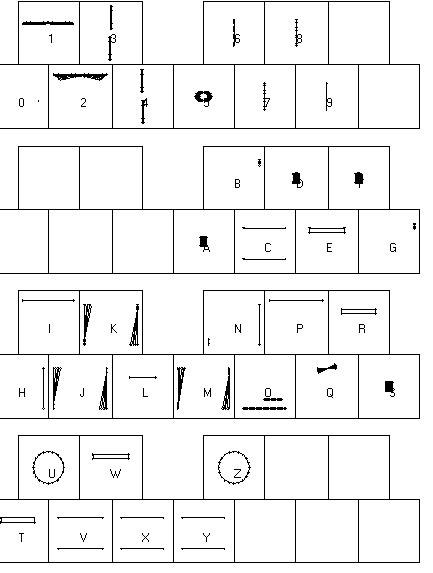
Fig.17: Assignment tables for computer- or MIDI-keyboards