
")
3.6. Create Music Synchronous Shows
3.6. Create Music Synchronous Shows
After all figures are created and assigned to the keys, the creation of a show can begin.
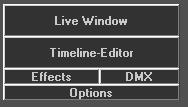
To get started select “Timeline-Editor” (Fig.18) or open the Timeline-Editor via the menu Windows.
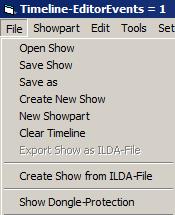
First step is to select File -> Create New Show (see Fig.19).
Second, an audio file has to be assigned for the show. A dialog will show up asking to choose a supported media file. If a *.wav-file is used, a volume preview is generated in the timeline.
After the audio file has been selected is correct implementation can be tested with a click on “Play” (button with a green arrow).
The Show programming can now begin.
Two different methods can be used:
Method 1 – Drag and Drop:
The figures in the figure table are dragged to the very timeline position with the mouse. The difficult thing with doing this is to arrange the figures synchronous to the sound file.
As the Timeline consists of many different rows – most of them used for effects – it’s important to understand that the figures must be placed on the line named “figure”.
The featured “Grid” and “Zoom” help with proper music synchronous positioning of the figures.
It is possible to put figures to several figure tracks per output channel.
With using the “Effect Tool” (see red arrow in next Fig.20) it is possible to change the effect values and create additional figure animations. After a click on “Effect Tool”, the area the effects shall be applied to must be marked. When having marked the area, a dialog box shows up (Fig. 20). This dialog allows for drawing the effects behaviour. This method is not really accurate, but does the job in many cases.
Detailed information on effects and how to use them is given in the main manual.
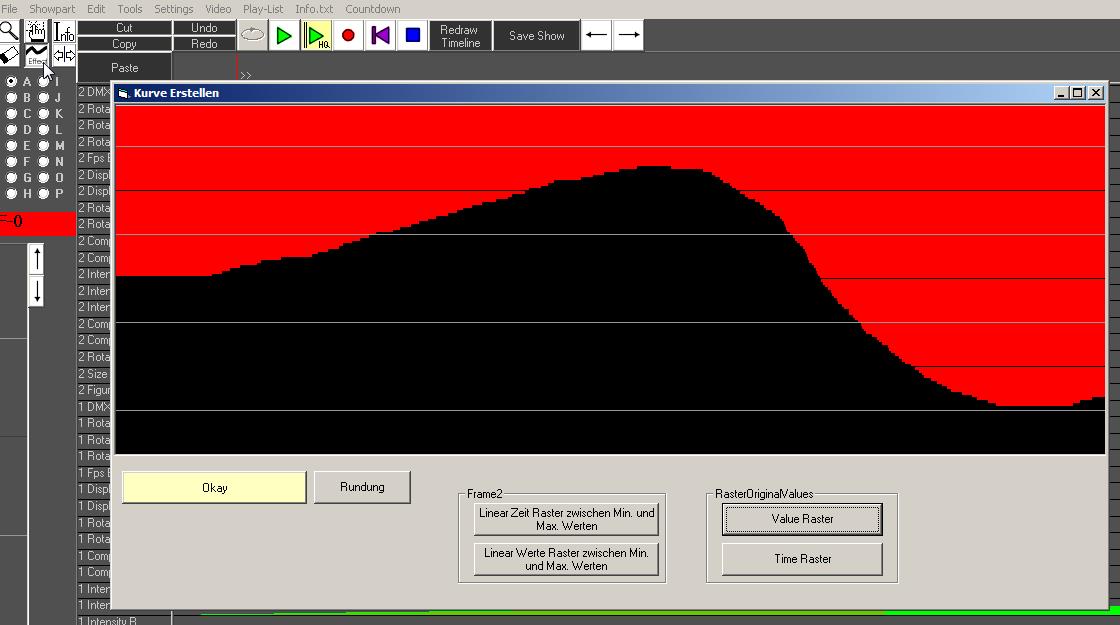
Fig.20: Dialog of the “Effect-Tool” (Timeline-Editor).
Method 2 – Live Recording (recommended):
Live recording, like it is done with a MIDI-sequencer or multi-track-recorder, is the recommended method of programming a laser show with Laserworld Showeditor.

Figures and Effects can be recorded by marking the very track-line, then press “record” (the button with the red dot), after that play the keys with the appropriate figure / effects level. Several tracks can be marked by holding the Ctrl key while selecting the desired tracks. Multi-Track recording is only possible for effects, not for figures (for obvious reasons).
Two recording modes for figures are possible: To only record figure start points but then let run until the next figure starts or the Space-bar is pressed, use the standard settings. If the figure should only be recorded as long as the appropriate key is pressed, change Use key-up event => figure off in the Settings.
The position on the timeline for the start of the recording can be set by a click at the very position in the Timeline bar (right of the “Paste” button). If the music source file is in *.wav file format, the volume level of the music is displayed there too.
During the programming process it is recommended to save the laser show from time to time. This can be done at File -> Save Show. If the show hasn’t been given a name yet, a dialog box for entering the name of the show opens up.
Hint: The software permanently writes backup files, so in case of an abnormal program termination it is possible in many cases that the previous state of a show can be recovered. However, this should not be relied on, so frequent saving is highly recommended.