
")
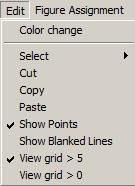
6.15. Menu Edit
6.15. Menu Edit
6.15.1. Color Change
This tool allows for changing the color of several points (of the same color), or to change the color of points (of the same color) in a series of frames. This is how it works:
- Select the desired new color of the points (see chapter 6.3.4 for details on color selection).
- Mark one of the points of the figure that should be recolored (perhaps it is necessary to activate “Show Points” first to make single points visible).
- A click on Edit->Color change opens a dialog to set the options (see Fig. 63). Make the selections of your choice there. If “Color of actually selected point” or “Destination color” are not correct, click “Cancel” and change your selection.
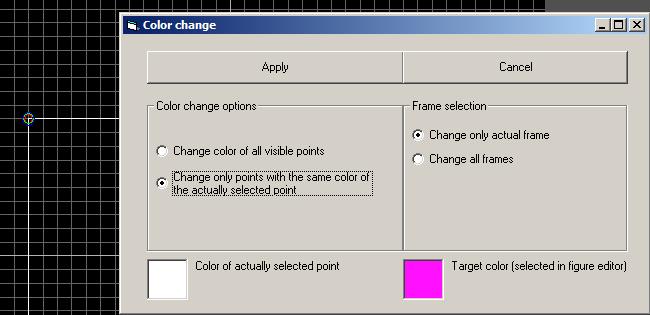
Fig.63: Menu Edit/Color change. Dialog to change colors of points.
6.15.2. Mark all Points
Mark all points of the actual frame by using this menu item. Having all points of a frame marked allows for easy copying, moving or distorting of the whole frame.
6.15.3. Cut
This item does what it says and has the same function as the button “Cut”.
6.15.4. Copy
This item does what it says and has the same function as the button “Copy”.
6.15.5. Paste
This item does what it says and has the same function as the button “Paste”.
6.15.6. Show Points
With Edit->Show Points activated, all drawn visible points of the frame are shown in the drawing area. This menu item is standard activated.
6.15.7. Show Blanked Lines
Blanked line and points, meaning the moving path of the laser beam without output, can be made visible in the drawing area by activating this menu item. Thus they can be modified, repositioned or deleted.
6.15.8. View Grid >5 or View Grid >0
This menu items control the visibility of the grid lines. Toggling these is helpful when zooming in to a frame, but still having the grid visible.